Total Cost:
Approximately $25 + ink and card stock already on hand
Supplies:
6 - 5x7 frames
White card stock
Small paper cutter or scissors
Laser printer
Computer with Paint (program)
Instructions:
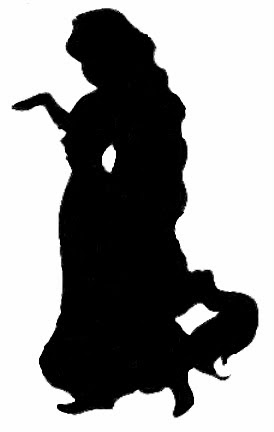
1) I first had to find images of the silhouettes that I wanted. After a quick google search, I was able to find all that I wanted and saved them to my computer.
2) Some of the images were in really rough shape, so I used the program called Paint on my computer to edit the images to make the lines sharper and get rid of some of the blurred gray that appeared. Here is a before and after of my Paint images.

Before
After
3) I saved my edited images and then just opened them with the default Microsoft Office Picture Manager to print the images. Since we decided to do 6 of them, we choose to do them in 5x7 format (8x10 would have been too large). So when I clicked to print, I chose to print them in 5x7 so they only took up about half the page. I printed one, and then would flip the pages over and print on the other side, so I ended up with two silhouettes on one piece of card stock.
4) Using a small paper cutter (this is recommended over scissors because you can get a straight cut), to cut it in to 5x7 size so it would fit in my frame. NOTE: Most of my images worked perfectly, but I did have to resize two of them because once I got them in the frame, their heads were cut off. Once I resized them, I reprinted them and they fit perfectly.
5) Once cut, I placed each one in a frame to finish it off. We bought these 5x7 frames at Walmart for $4 each! Here is the final product. I think they turned out great!


1 comments:
So cute!
Post a Comment